I came to Yogyakarta Indonesia in November 2017 to build a becak to ride in San Francisco. I knew it would need good brakes and gears for the hills and, since the cost of shipping would be high, I wanted a becak that would justify the expense.
A 250lb factory-built becak made from rebar and pipes wasn’t going to do it for me. New becaks, made to sell for $300, are primarily bought by hotels as lobby displays and the quality of the welds and steel has declined.
Rather than a modifying a factory built bike, it looked as though I needed to build a custom becak. Arie, the translator at the becak factory where we met, happened to be an artist/bike aficionado: we set out to find a good welder.
When building something custom you have to specify everything. Jogja is full of beautiful becaks and inspiring art. So, I went around with a tape measure, a camera, and the Sketch app, documenting murals, handicrafts and the most interesting becaks I came across.
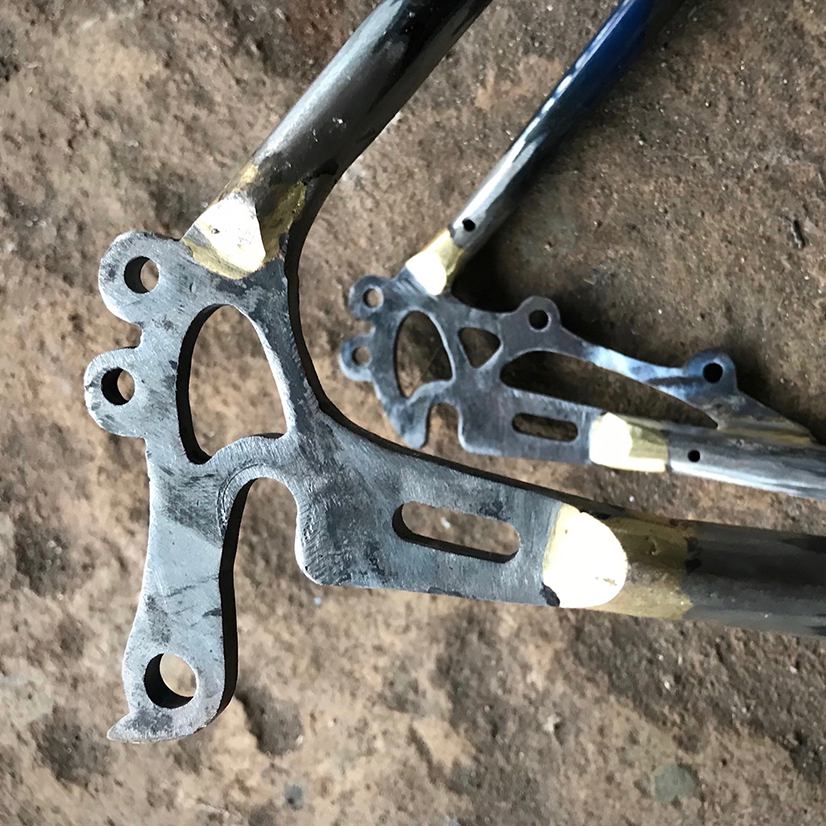
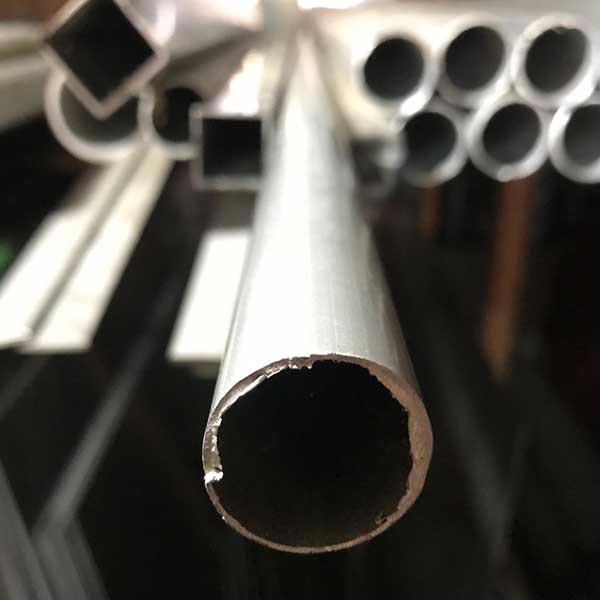
In 2014, another foreigner, Scott Thompson, built a custom becak to ride across Sumatra for charity, and incidentally, logged the record for distance on a becak. His bike had disc breaks, gears and a rear frame made of Chromoly steel. The builder of the rear frame, in Malang, had the old plans and access to good steel tubes. I ordered a frame like Scott’s but more curvy and upright, and I had the head tube angled forward so the frame would tilt to the inside when cornering.
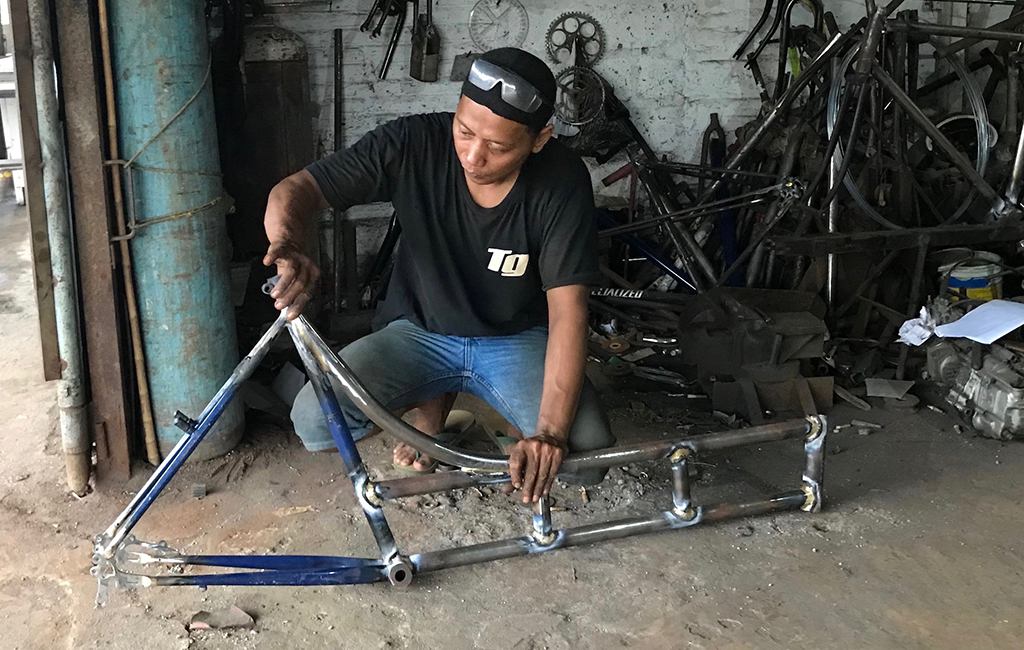
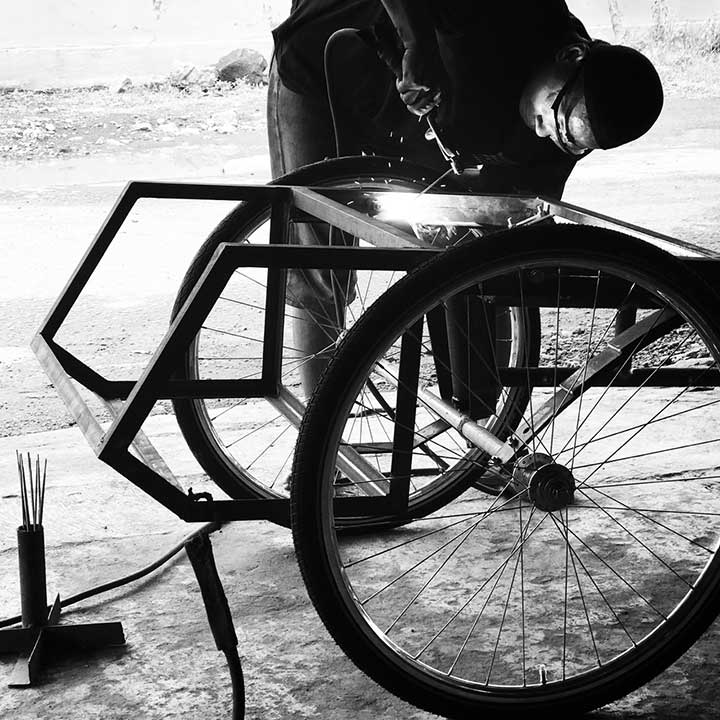
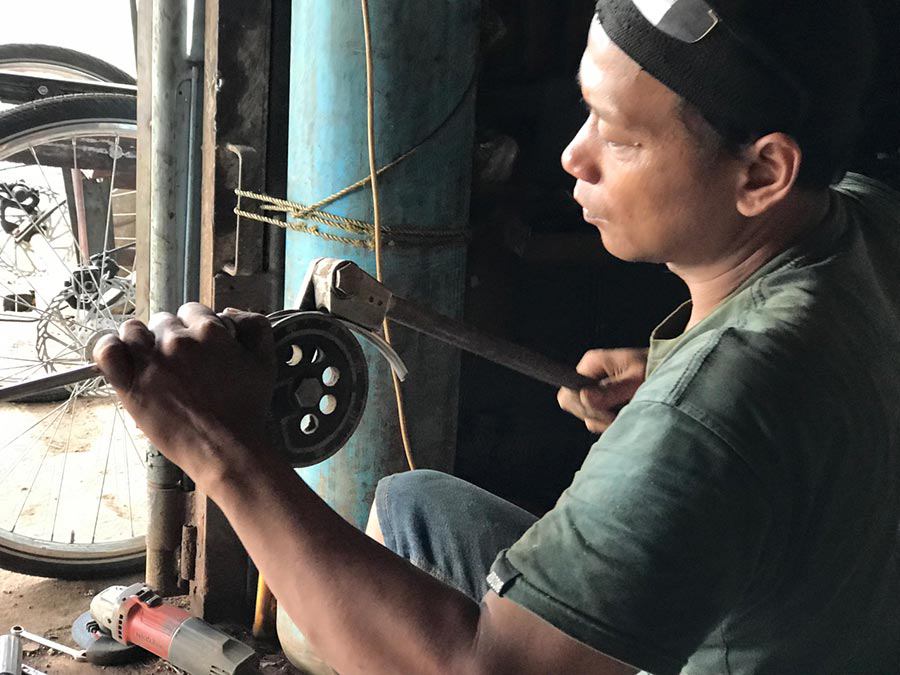
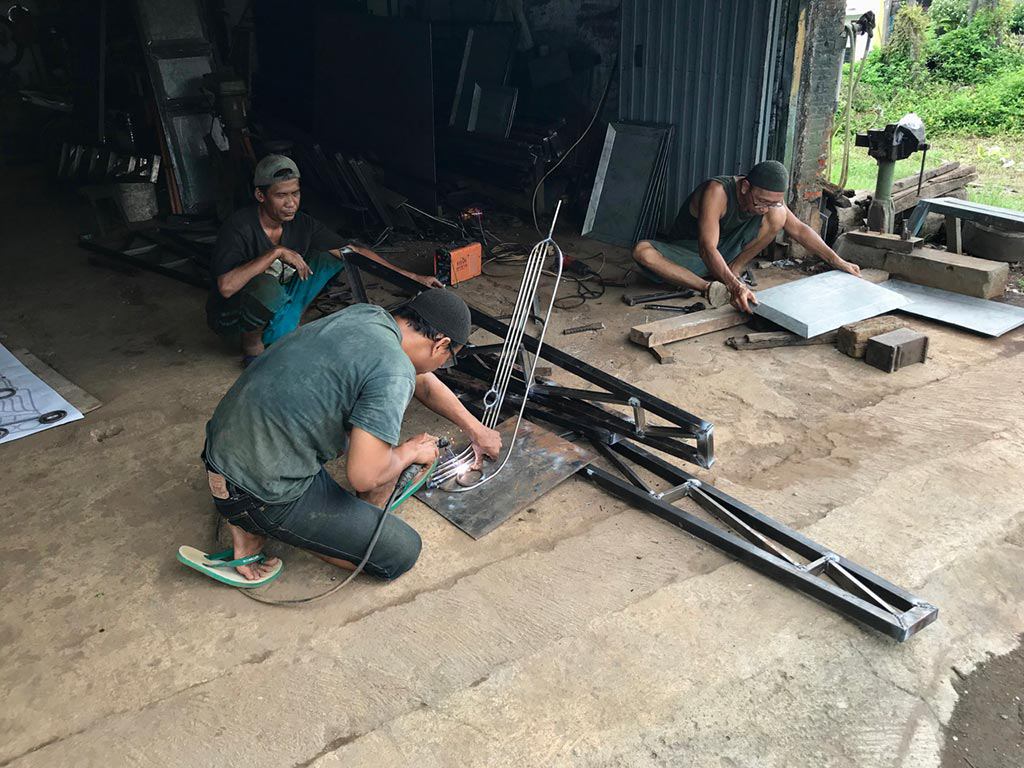
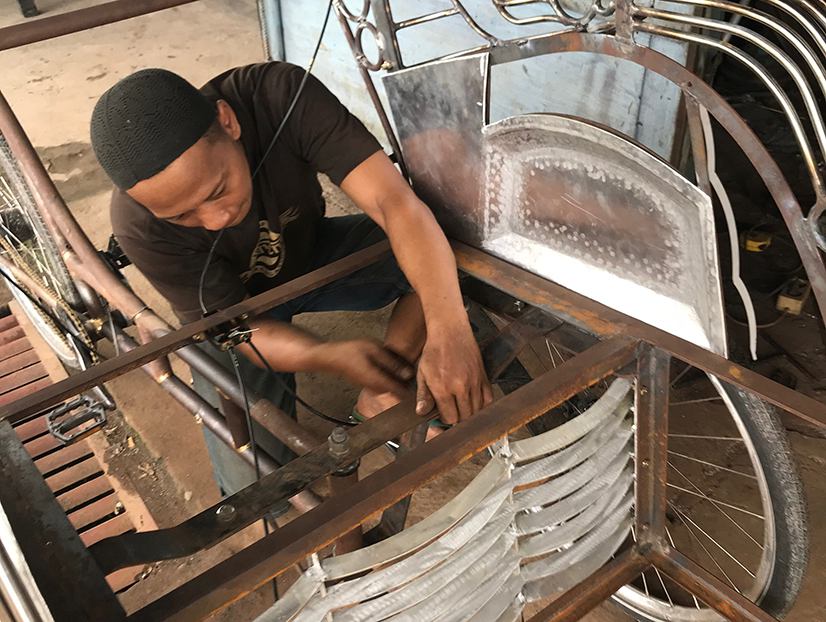
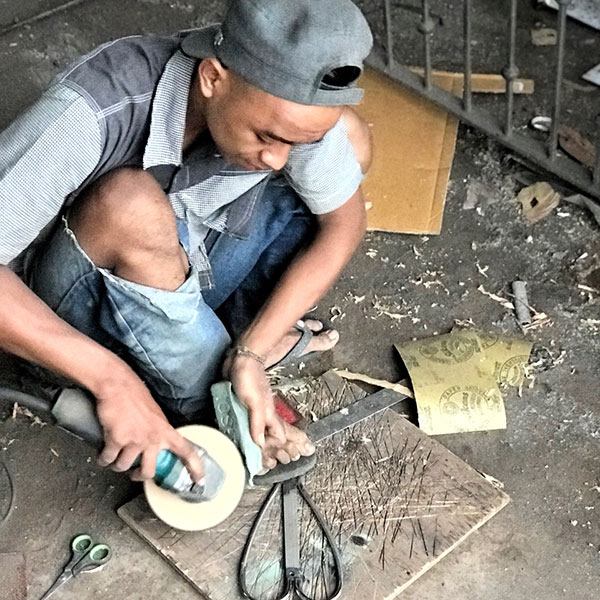
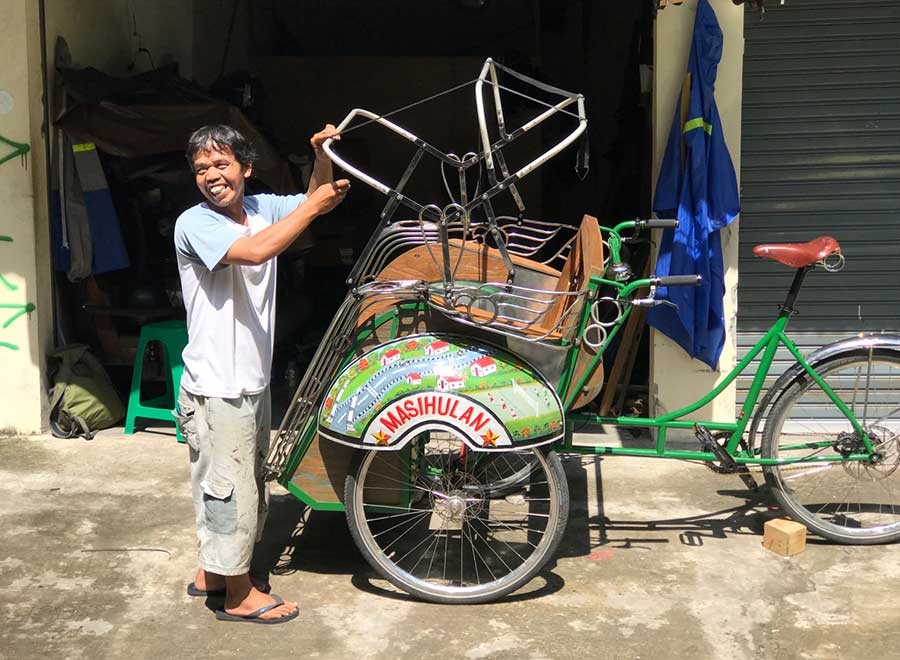
The welding shop we chose is a family business on the east edge of Jogja. The father welds gutters and roof supports, but his son Kus fixes anything people bring to him and is highly sought after by the biking community for his bike modifications.
Since my Chromoly rear frame wouldn’t be ready for six weeks, Kus started by building a temporary frame with the rear triangle of an old mountain bike. This was needed to hold up the front of the becak during construction, but it turned out better looking than the Chromoly frame that was supposed to be replacing it.
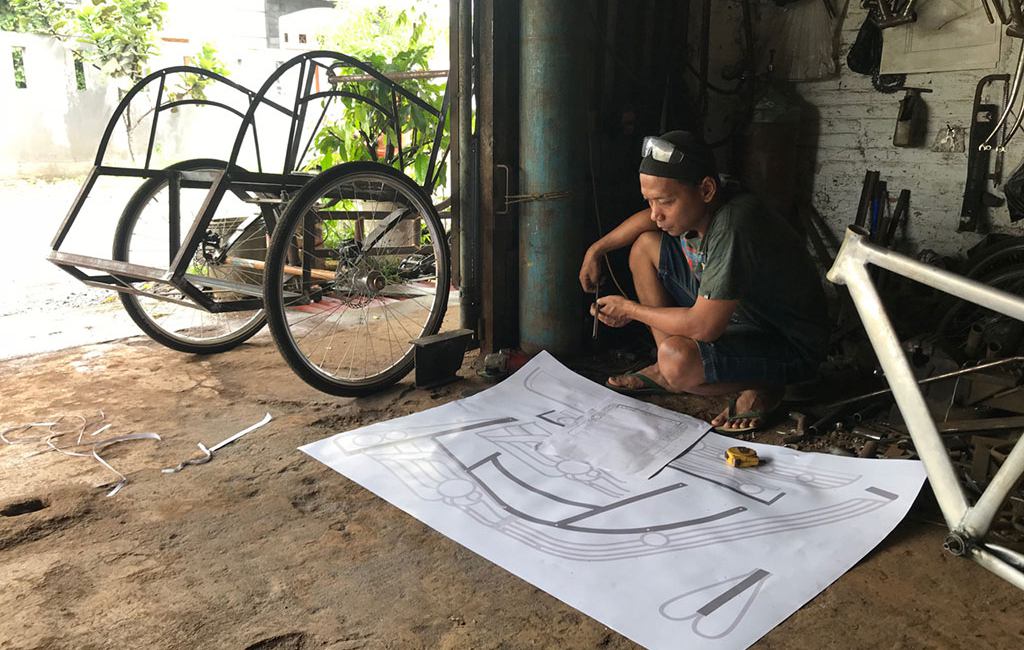
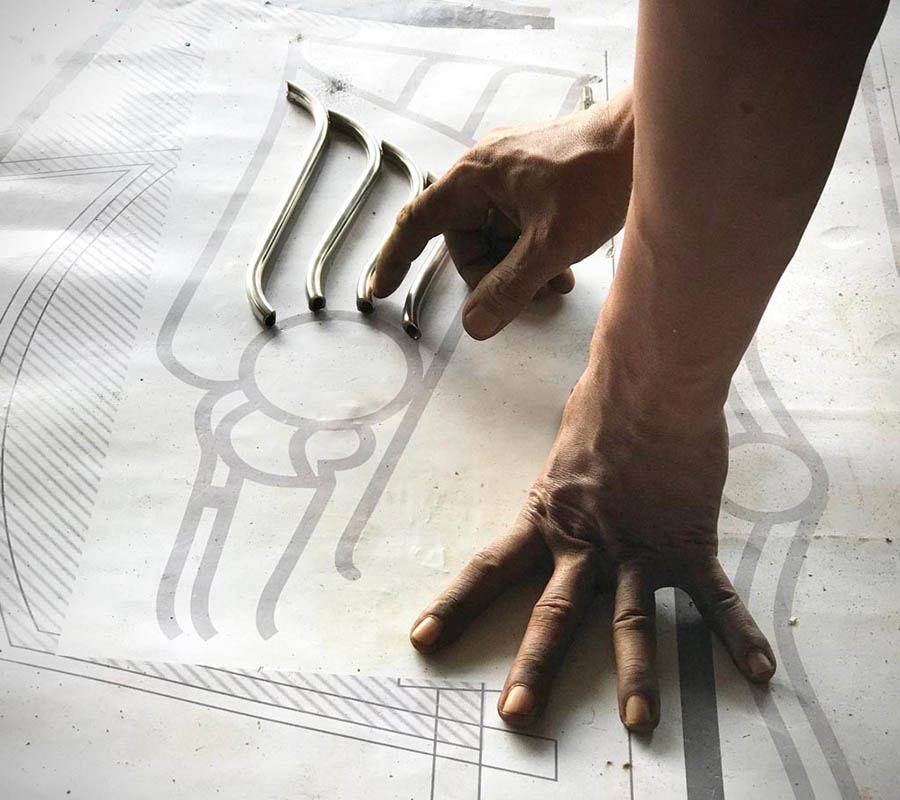
Initially we thought about getting an old becak front end to take apart and copy, but Kus wanted drawings. Since we couldn’t find anyone to draw plans, I took that on. This gave me a critical role and made me a much keener observer of becaks than I would have been. The revisions never finished. There were always more details to draw or decorations to try out.
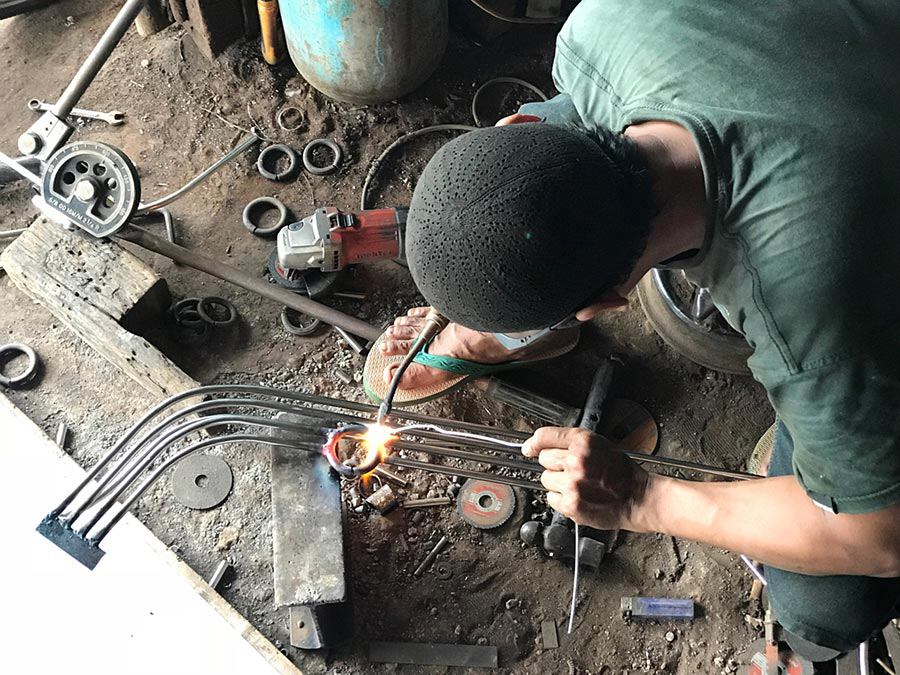
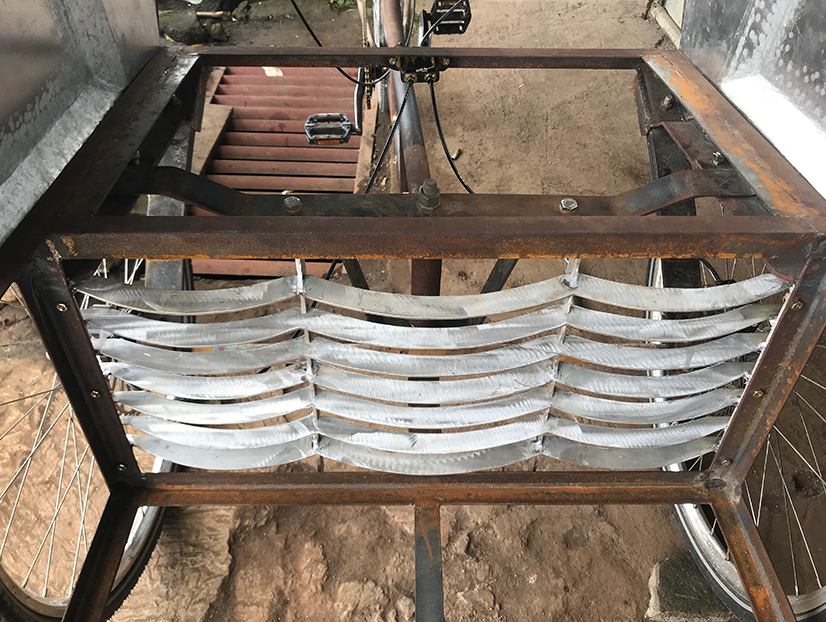
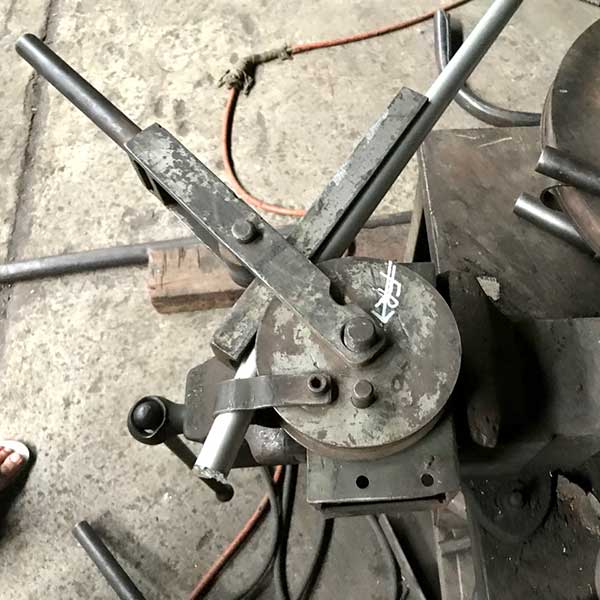
The decorative steel arm rests which go all the way down along the edges of the passenger cab to the foot rest are normally made of solid steel rods and are very heavy. The newer becaks use thinner rods, but I liked the original gauge. We considered using aluminum to save weight but settled on tubular stainless steel for the straighter sections, with solid steel for the circles. Solid rod can be bent in a smaller radius. The bending and welding was a major task which took Kus well over a week.
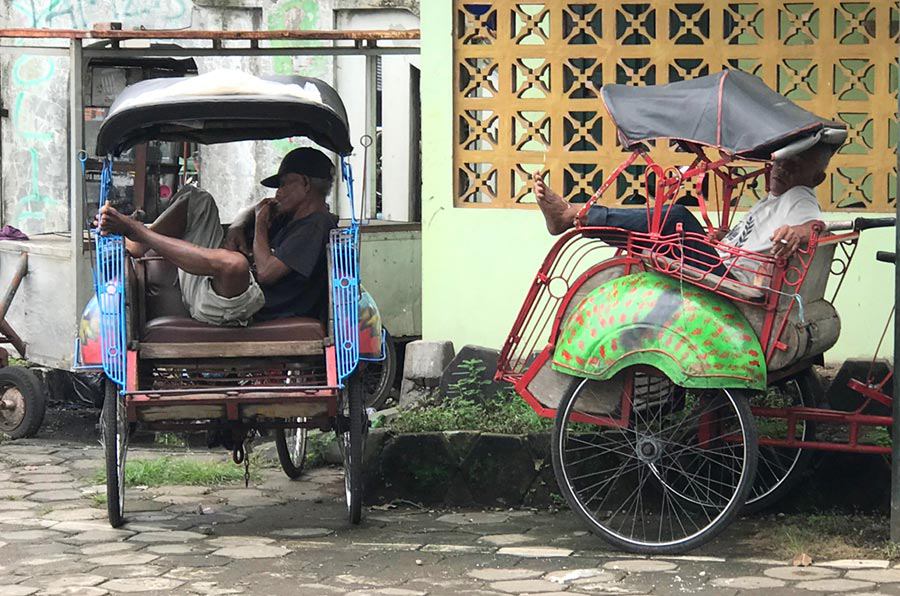
Every region has its own style of becaks. The Jogja-style becak, with its big round wheel covers made from old oil drums, seems to be based on the avoidance of square shapes. All the Jogja becaks were made by just two companies, one of which is out of business and the other is struggling. I preferred the horizontal grill fins and curvy toe step of the defunct company.
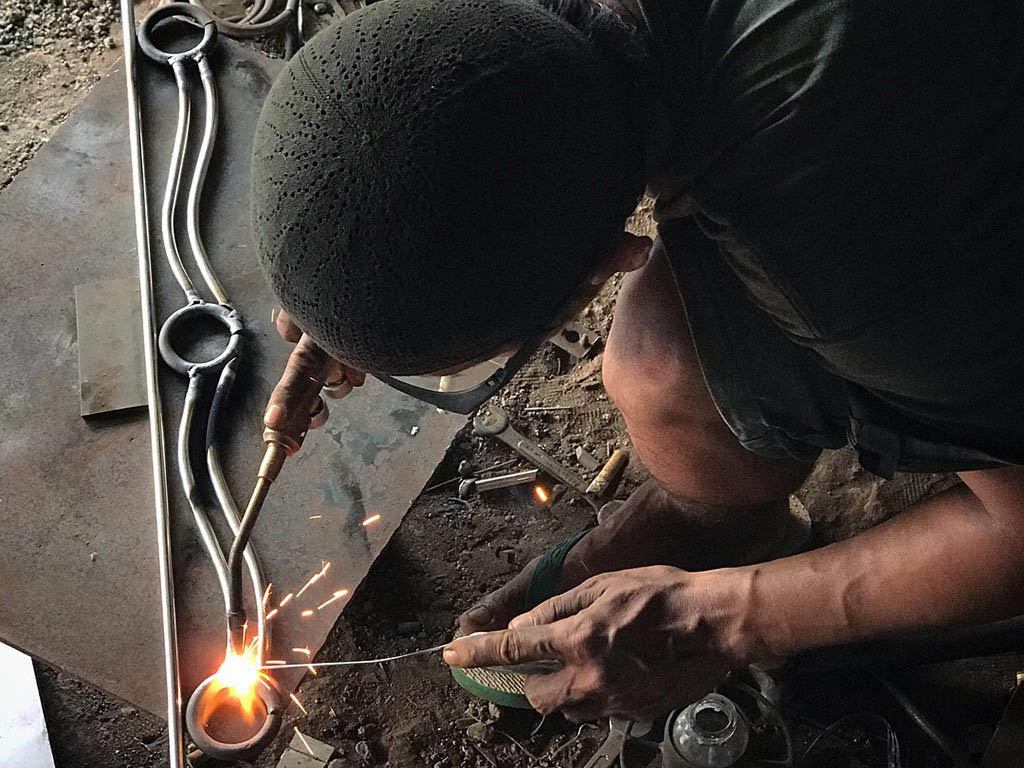
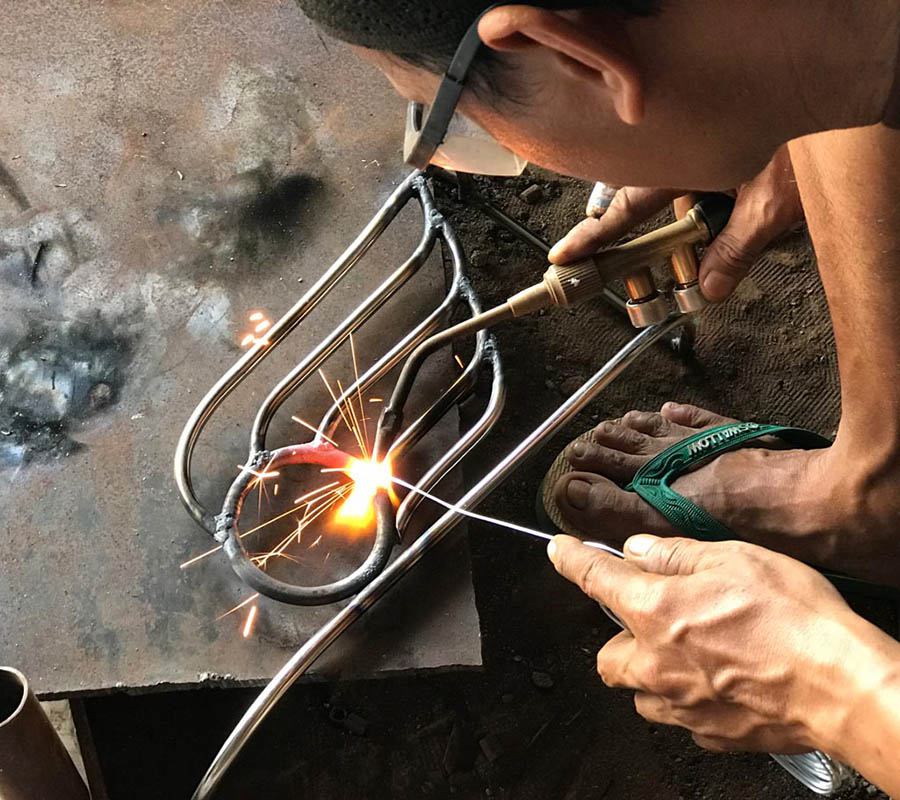
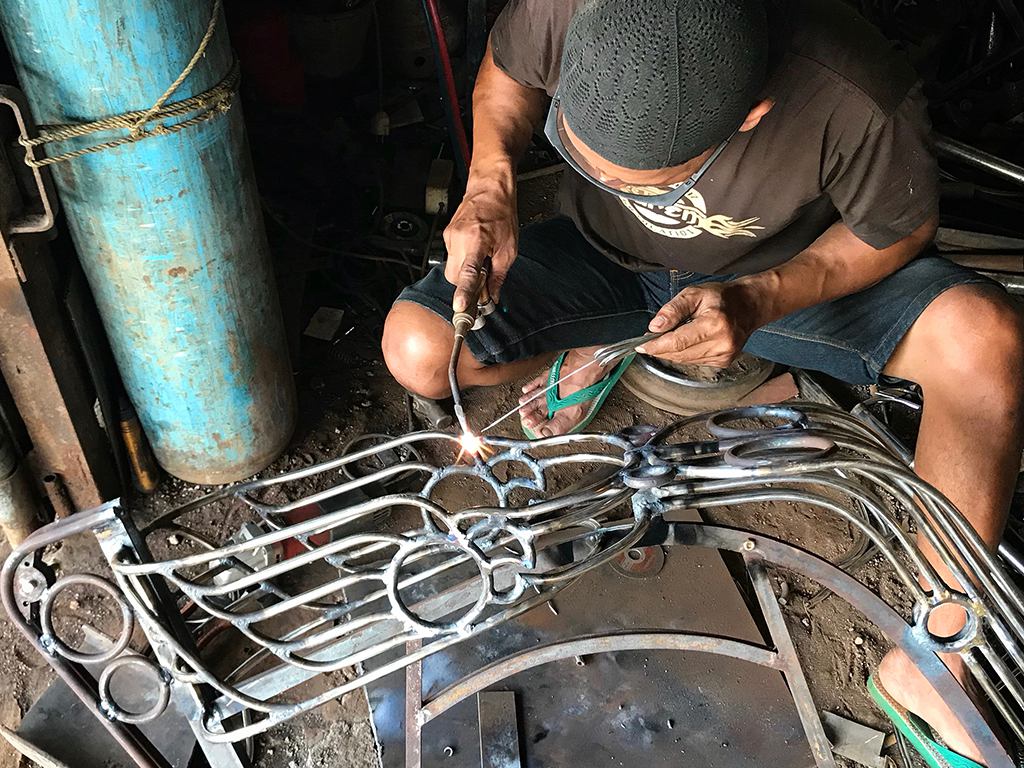
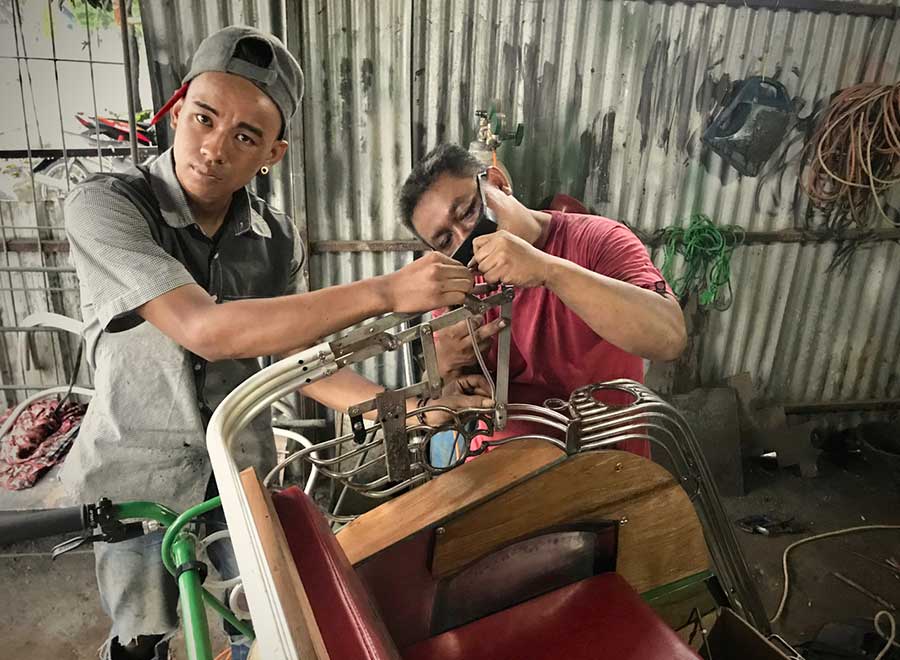
Kus’s artistic genius shows in the components he fashioned by hand.
These are the kinds of details I had no idea how to design; Kus just made them work.
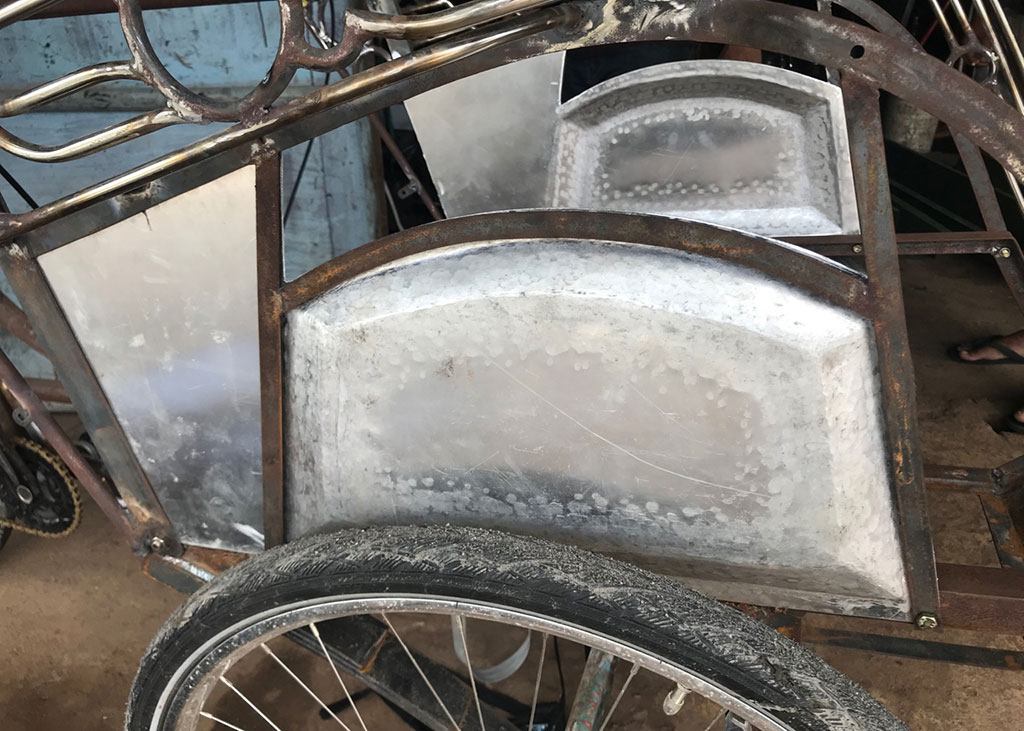
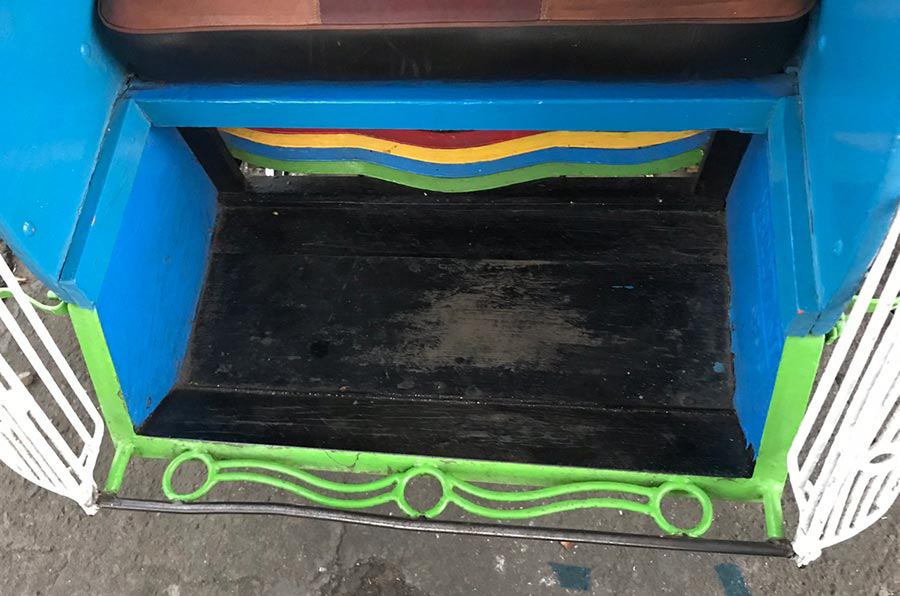
A regular becak has sides fully paneled in flat teakwood and is barely wide enough for two westerners. We made the seating area a little wider by using thin aluminum panels at the back of the seat and sinking them out under the wheel covers to provide 6cm of additional hip space. The grill was made from aluminum, and the foot rest to seat distance is significantly more than traditional becaks in order to lower the step and increase leg room.
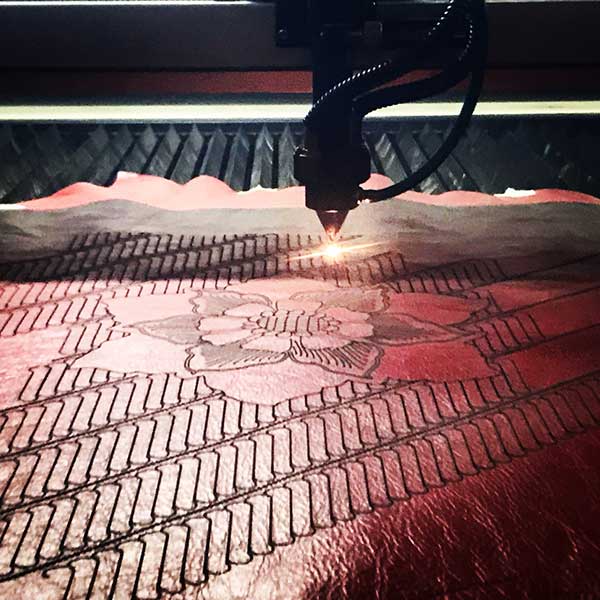
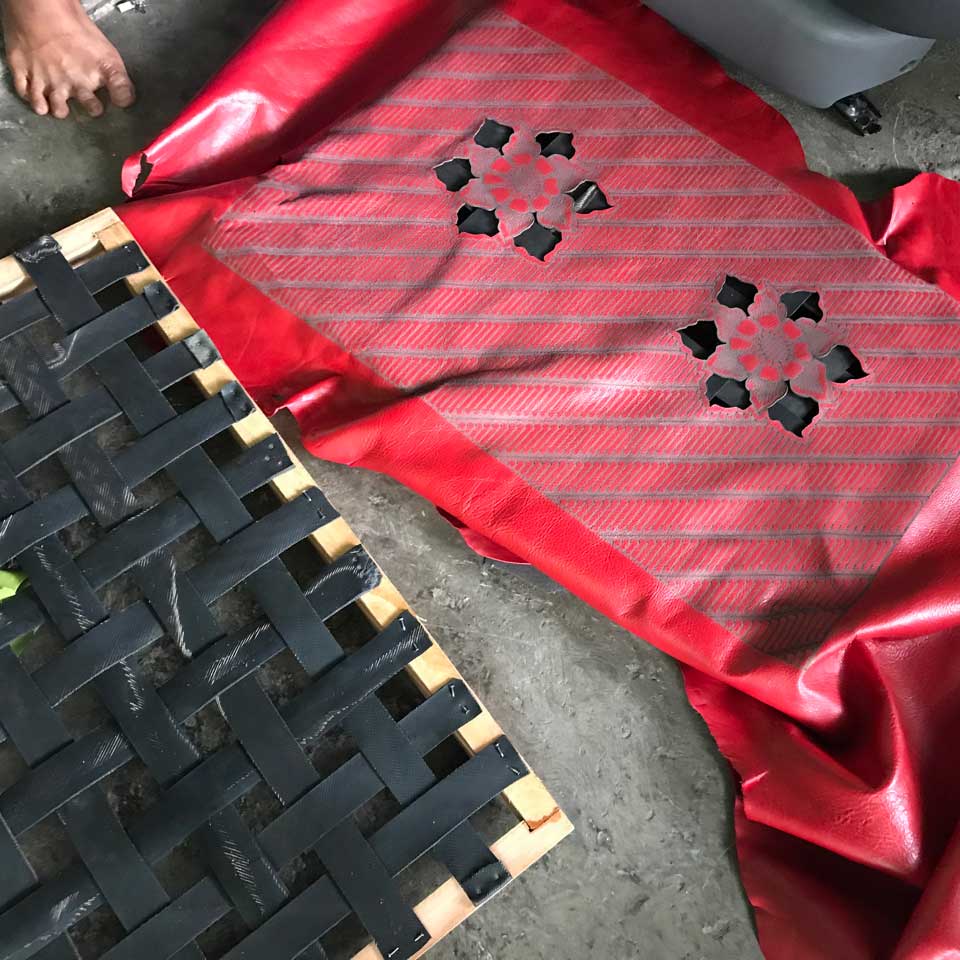
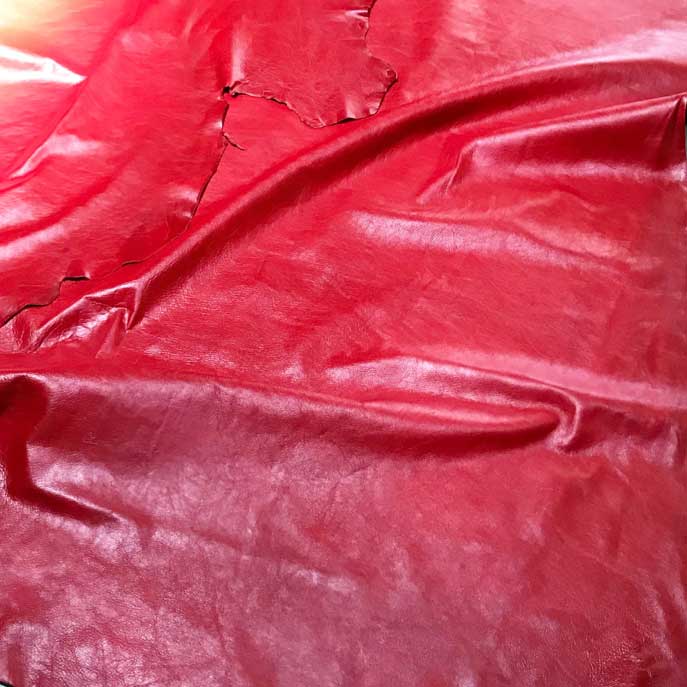
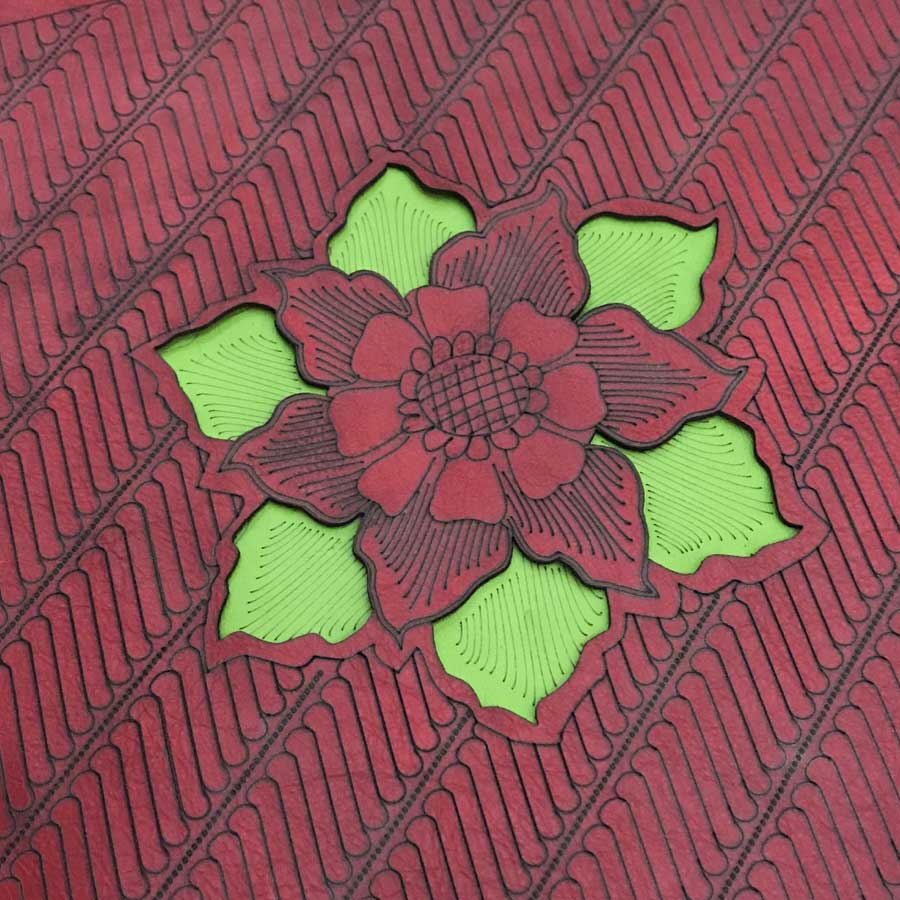
The seat is my favorite part of the becak. My hope is that people see the becak and are drawn to sit in it and touch the materials, not just take a photo. When I saw the red leather hides spread out on the floor in front of me I knew it would be a bold choice but I wanted to make it work. The color was a bit too intense but would be darkened by burning a pattern into the leather. The design was inspired by a form of batik on wood from the village of Krebet, south of Jogja. The leaves were cut out exposing green leather backing. The diagonal background pattern is known as Parang, traditionally worn only by princesses. The characteristic curved lines of the Parang resemble ocean waves, symbolizing the continuity and persistence of the sea.
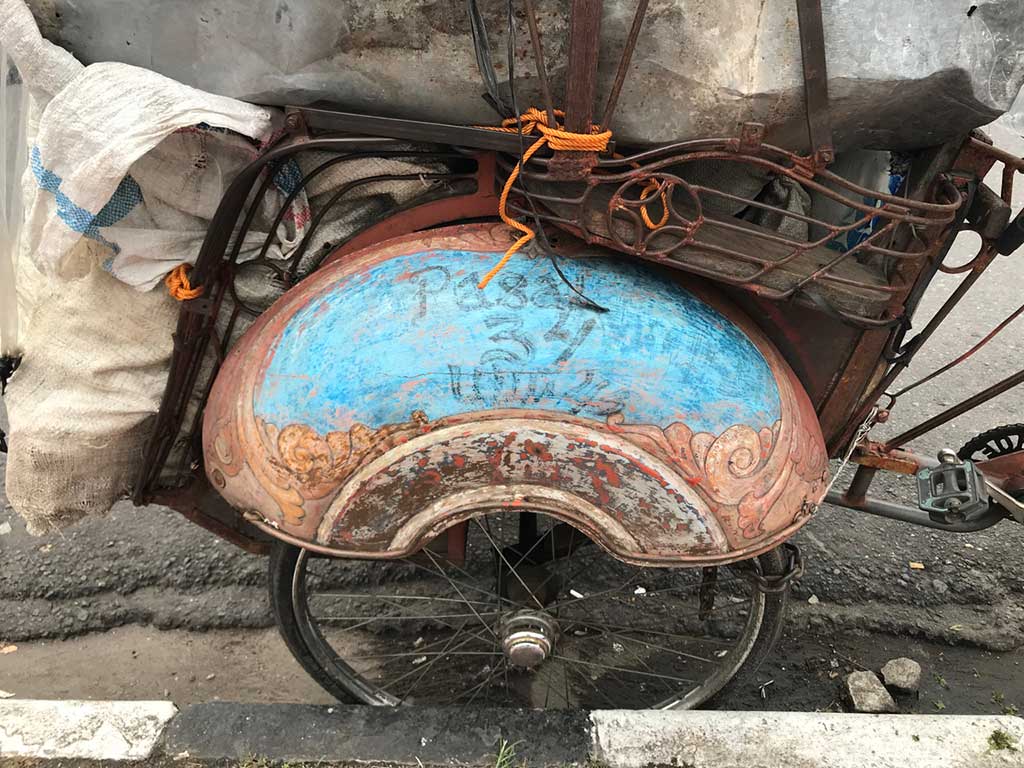

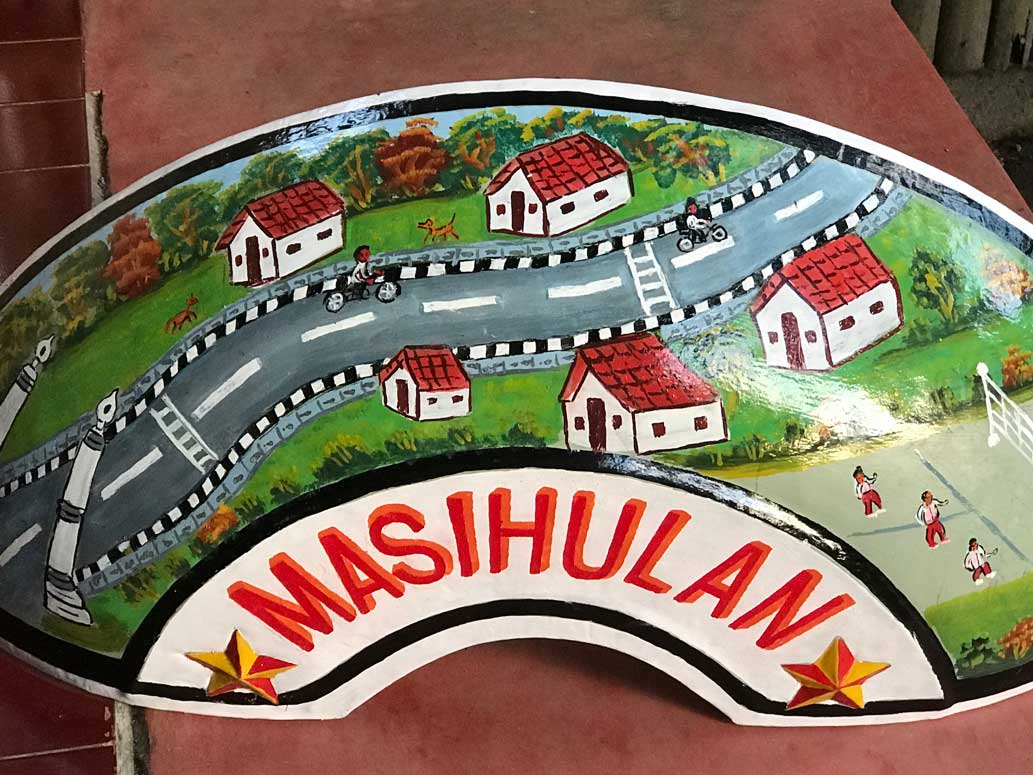
The wheel covers are where a becak can promote its owner’s town or slogan or business. I bought three sets and had two of them painted.
One set for the village of Masihulan by an old painter who is well known for wheel covers. He worked from simple sketches that Arie made from my description of the village where the best Seram Cockatoo guides live.
Second, Arie painted a set of beautiful wild cockatoo wheel covers based on photographs I had taken on the Island of Seram in Maluku.
The third is polished metal which I plan to put lettering on when I know what type of tours I’ll be offering in San Francisco.
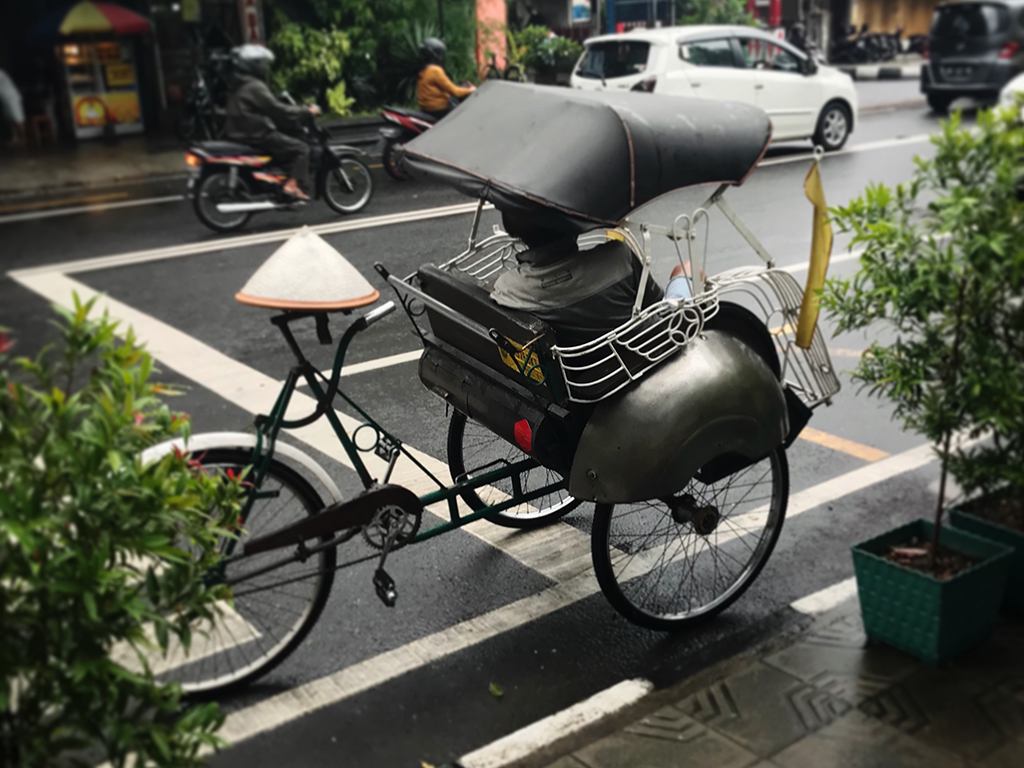
A collapsing canopy has a lot of moving parts to design and I wasn’t sure I’d need one in San Francisco. Then I pictured myself on a sunny day, snoozing in the shade of the canopy while waiting for a customer.
Because the powder coating of the frame was finished, I choose to use stainless steel for the canopy which wouldn’t require paint. This entailed going to a different welder and polisher after Kus shaped the metal. The pre-bent rattan cross bars normally used wouldn’t work because my canopy was designed to fit a taller person. After countless trips between pipe vendor and pipe bender, I finally had three perfectly bent cross bars to rivet the waterproof covering on to.
Kus with his parents in the becak outside their home and welding shop. His mother served me many cups of tea while I waited and watched Kus at work.
I was very lucky to meet and be guided by Arie Dyanto. When I started this project I wanted to just buy a good becak. When that wasn’t possible, Arie showed me how it could be made. It was a fascinating education in building a vehicle with so many different materials. He frustrated me sometimes when he proposed ideas which entailed yet more design work. They would rattle around in my head for days until I embraced and incorporated them. As a daily presence in his house, I’m sure I caused him to smoke more.
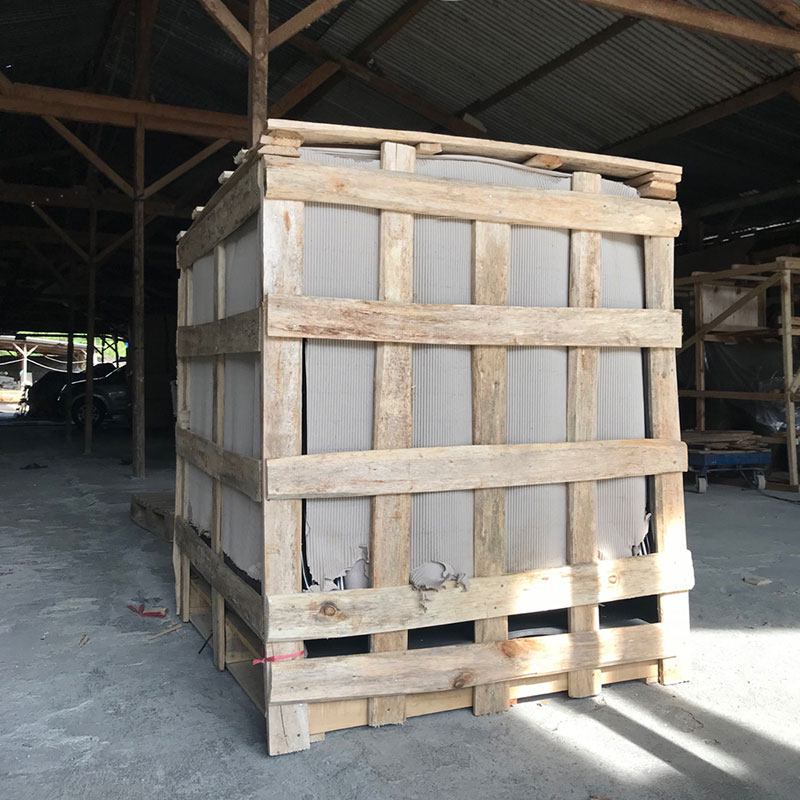
It took nearly four months from visiting the first Becak factory, to designing and completing my Becak, and getting it into this crate. It took another six weeks to travel via container ship to California.
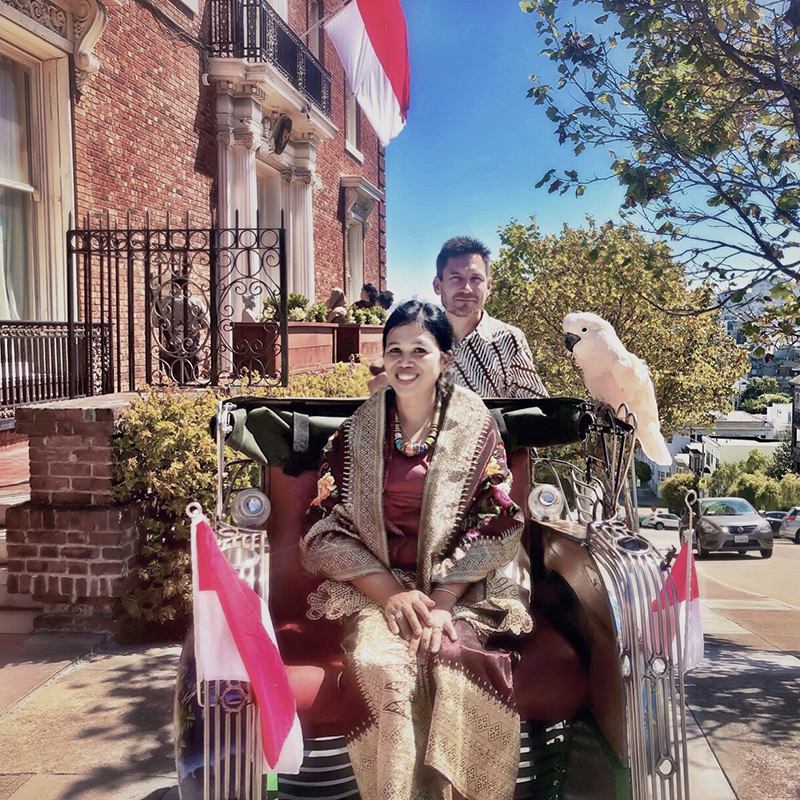
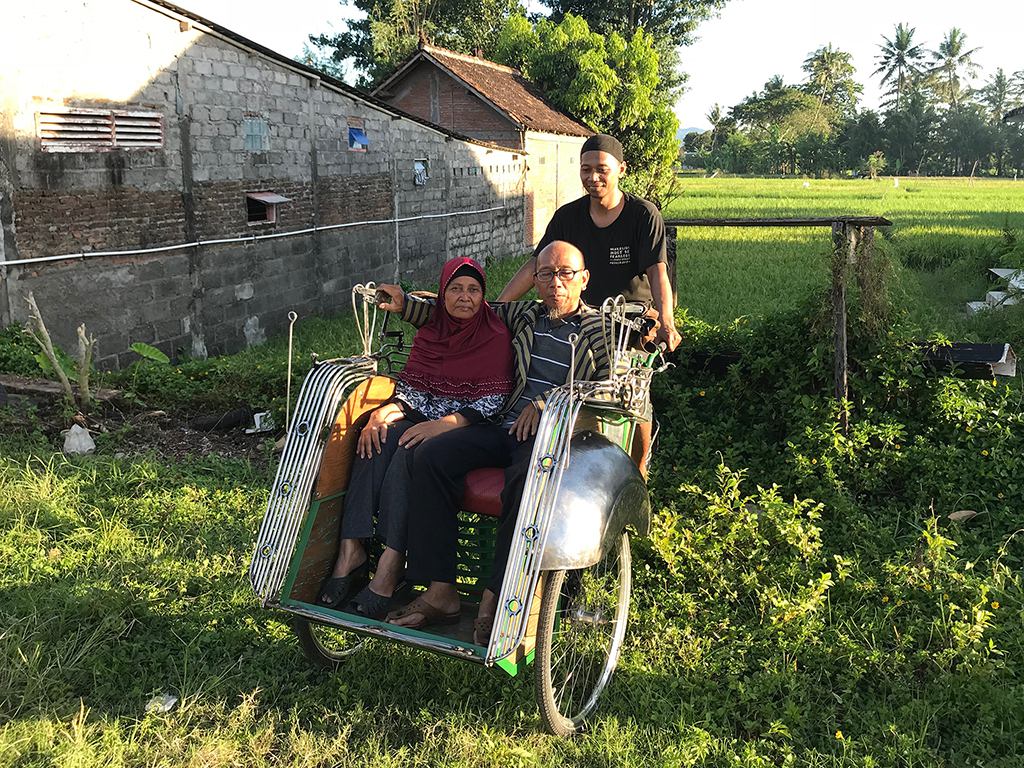
And finally on the hilly streets of San Francisco. We are ready to start offering tours of the city.